What Contour and Highlight Actually Do
Contour and highlight work as a light-and-shadow duo. Contour adds believable shadow where the face naturally dips, while highlight brings light forward on the planes that catch it first. When both are placed with intention and blended until edges disappear, features look more defined without looking “done.” For more guidance, see Makeup Study Guide Tips and Tricks.
- Contour creates the illusion of shadow to add dimension (cheek hollows, jawline, sides of nose).
- Highlight brings forward high points with a light-reflecting or lighter-toned product (tops of cheekbones, brow bone, bridge of nose).
- Bronzer warms; contour sculpts. Using a warm bronzer-like shade to contour is a common reason definition turns orange.
- Placement matters more than intensity. A light hand in the right spot looks more natural than heavy product spread broadly.
Choose the Right Shades and Textures for a Pro-Level Finish
Most “muddy” contour comes from the wrong undertone or too much product at once. Think of contour as a soft, cool-to-neutral shadow—not a tan. For highlight, choose a finish that matches your skin texture and the lighting you’ll be in. For further reading, see HOW DO YOU APPLY MAKEUP LIKE A PROFESSIONAL.
- Contour shade: aim for cool-to-neutral tones that mimic real shadow; avoid overly warm or red tones.
- Highlight shade: pearl/champagne for soft glow, icy for high contrast, golden for warmth.
- Cream vs. powder: creams melt into base makeup for a skin-like finish; powders add structure and longevity.
- Layering approach: use cream contour/highlight first, then lightly set and refine with powder to avoid patchiness.
Quick guide to textures and when to use them
| Product type |
Best for |
Watch-outs |
Pro tip |
| Cream contour |
Dry/normal skin, natural dimension |
Can lift foundation if rubbed |
Tap and press to blend; use minimal product then build |
| Powder contour |
Oily skin, long wear, sharp definition |
Can look dusty if base is too matte |
Apply over a thin set layer; blend edges with a clean brush |
| Liquid/cream highlight |
Dewy glow, mature or dry skin |
Can emphasize texture if too metallic |
Place on high points only; avoid areas with large pores |
| Powder highlight |
Intense shine, event makeup |
Can look stripey if overapplied |
Use a small brush and blend the perimeter with face powder |
Face-Shape Mapping: Where to Place Contour and Highlight
Face-shape “rules” are really shortcuts: the goal is balance. Use them as a starting point, then adjust based on your unique bone structure (and where you want lift).
- Oval: keep contour light—soft cheek definition and subtle jawline; highlight cheekbones and the center of the face.
- Round: contour slightly higher under the cheekbone to lift; add gentle jaw contour; highlight tops of cheekbones and center forehead.
- Square: soften corners—contour temples and along jaw angles; highlight center forehead and cheekbones to bring forward.
- Heart: balance a narrower chin—light contour at temples and under cheekbones; soften chin contour; highlight upper cheekbones and brow bone.
- Long/oblong: reduce vertical length—contour hairline and under chin lightly; keep cheek contour more horizontal; highlight cheekbones more than the center forehead.
Cheek Contour: Lift Without Harsh Lines
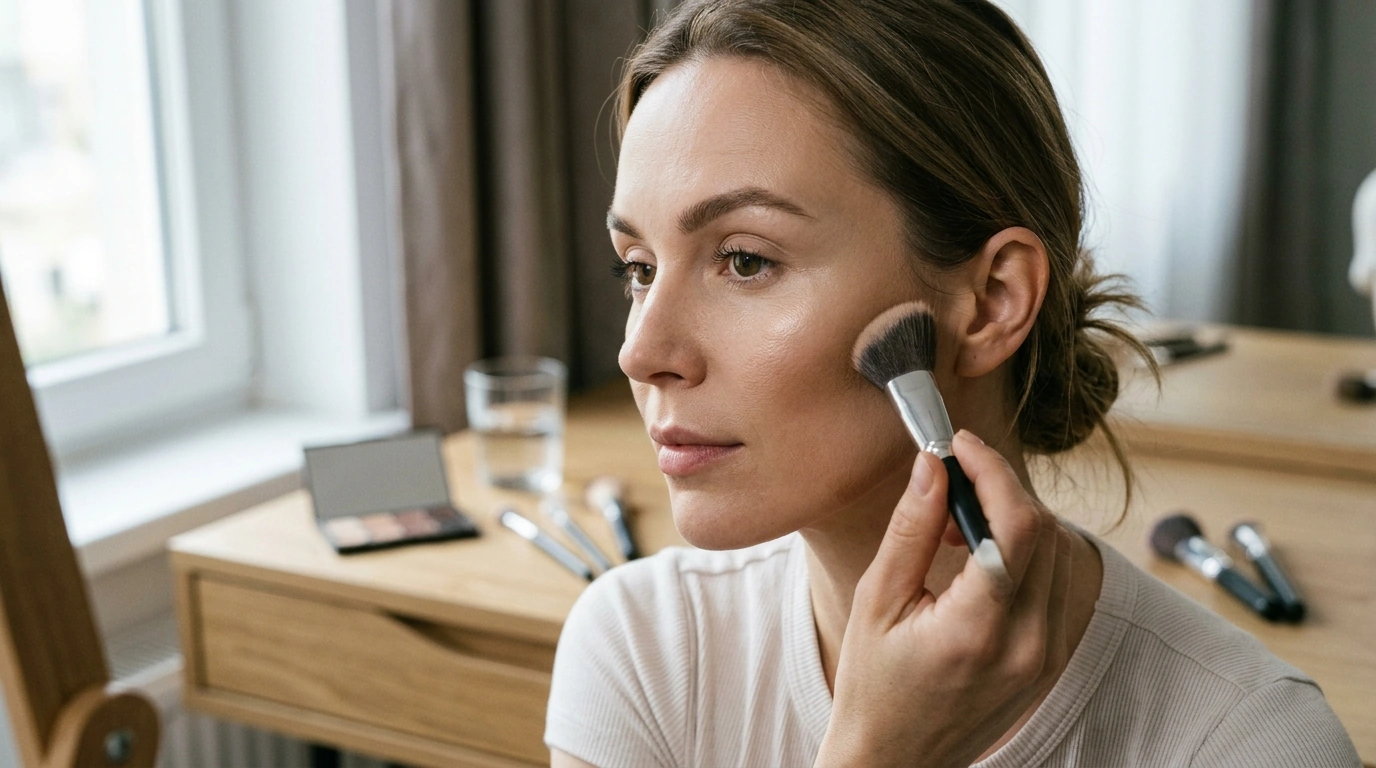
Cheek contour looks most natural when it mimics a soft shadow—diffuse, lifted, and never too close to the mouth. If you can clearly see where it starts and stops, it needs more blending (or less product).
- Start higher than expected: place contour slightly above the natural hollow to avoid dragging features down.
- Try “stamp then sweep”: press product where it belongs, then diffuse edges upward toward the temple.
- Keep the apple clean: stopping contour too close to the mouth can look heavy or muddy.
- Soften with warmth: blend contour into bronzer (or vice versa) rather than stacking thick layers.
Forehead and Jawline: Make It Look Like Bone Structure
Forehead and jaw contour should look like your natural structure—just slightly more defined. The secret is placing product where shadows would fall, then blending until the “makeup line” disappears.
Nose Contour: Subtle Structure Without Pinching
Blending Techniques That Make Everything Look Airbrushed
Glow That Looks Expensive: Highlight Placement and Finish
Common Contour and Highlight Mistakes (and Quick Fixes)
A Step-by-Step Routine to Practice (5 Minutes or Full Glam)
Practice Tools and Guides (Digital Picks)
FAQ
Is contour supposed to be warm or cool?
Contour typically leans cool-to-neutral because it’s meant to mimic natural shadow. If you want warmth, use bronzer separately; test contour along the cheek/jaw in daylight to ensure it doesn’t pull orange or red.
Should contour go before or after foundation?
Most routines apply foundation first, then cream contour and highlight, then a light set before powders. An alternative is underpainting (contour under foundation) for an extra-soft, diffused effect.
How can highlight look glowy without emphasizing pores?
Choose a satin or finely milled shimmer and keep placement tight on the top of the cheekbone rather than the inner cheek. Avoid textured areas and finish with a light setting spray to melt product into the skin.
Recommended for you













Leave a comment