
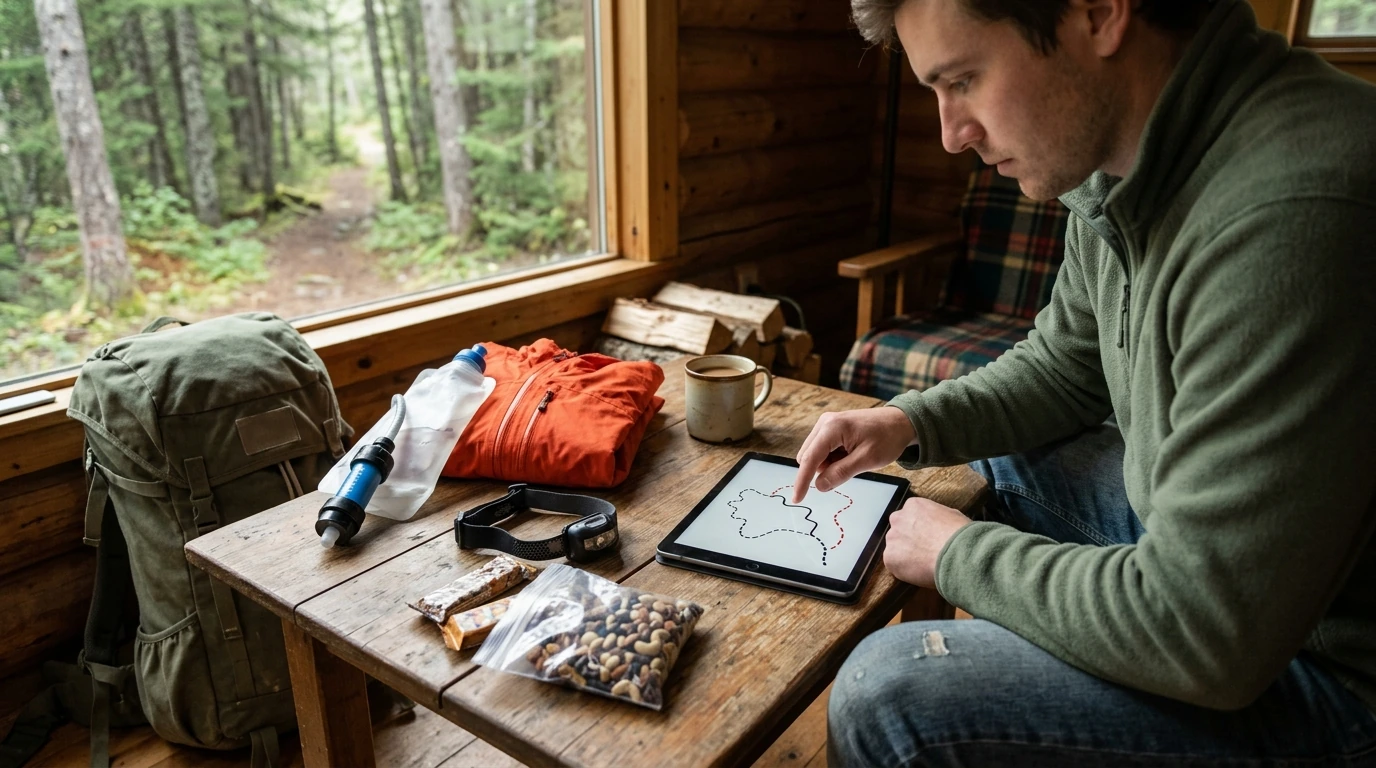
A first backpacking trip can feel overwhelming—permits, route choices, gear, food, weather, and safety all compete for attention. The simplest way to reduce surprises is to plan in a repeatable order: pick an appropriate route, sketch a realistic itinerary, pack by “systems,” and confirm water and safety details before you ever leave home. For more guidance, see Guide for the Care and Use of Laboratory Animals.
The easiest “first win” is choosing a trip that’s forgiving. You’ll learn more from a smooth, manageable overnight than from a suffer-fest that turns into a forced march. For further reading, see BACKPACKING IN YELLOWSTONE GUIDE.
| Factor | Beginner-friendly target | Why it matters |
|---|---|---|
| Mileage | 4–8 miles/day | Leaves buffer for navigation, breaks, and setting camp |
| Elevation gain | Under ~1,500 ft/day | Reduces fatigue and injury risk early on |
| Terrain | Well-marked, established trail | Simplifies navigation and pacing |
| Water availability | Frequent sources or known reliable points | Less water carried; fewer surprises |
| Exit options | Bailout routes available | Adds safety if weather or energy changes |
New backpackers often underestimate time, not distance. A good itinerary accounts for breaks, navigation pauses, and the fact that camp takes longer the first few times.
Before you go, check your land manager’s rules and current conditions, and build your plan around them. For safety basics and common hazard guidance, the National Park Service outdoor safety resources are a solid starting point.
Overpacking is usually a planning issue, not a willpower issue. Pack by “systems” so every item has a job and you can spot duplicates fast.
Use the “critical essentials” lens (navigation, illumination, sun protection, first aid, fire, repair kit, nutrition, hydration, insulation, emergency shelter). Then do a packed-weight reality check: remove extra outfits, heavy “just in case” items, and redundant tools.
Finally, test at home: pitch your shelter, turn on your headlamp, light your stove, and practice water treatment. A five-minute test run can prevent a trip-ending surprise.
Keep meals easy and predictable on your first outing. Complexity adds cleanup, time, and stress—especially at the end of day 1 when you’re tired and learning new routines.
If you like having a reference checklist while packing, the REI backpacking checklist can help you sanity-check the basics (then pare down from there).
For a clear standard to follow on every trip, review the Leave No Trace 7 Principles and use them when choosing campsites and managing waste.
Aim for about 4–8 miles per day for your first trips, with a shorter day 1 if possible. Total distance matters less than elevation, terrain, and pack weight, so adjust down when climbs are steep or conditions are hot, snowy, or muddy.
The most common issues are overpacking, setting unrealistic mileage, and failing to confirm water reliability on the route. Skipping permit/logistics checks and not having a bailout plan can also turn small problems into trip-ending ones.
Carry enough capacity for the longest expected dry stretch plus a safety buffer, then “tank up” at reliable sources. Temperature, exertion, and sun exposure change needs dramatically, so plan conservatively on hot or exposed routes.











Leave a comment