
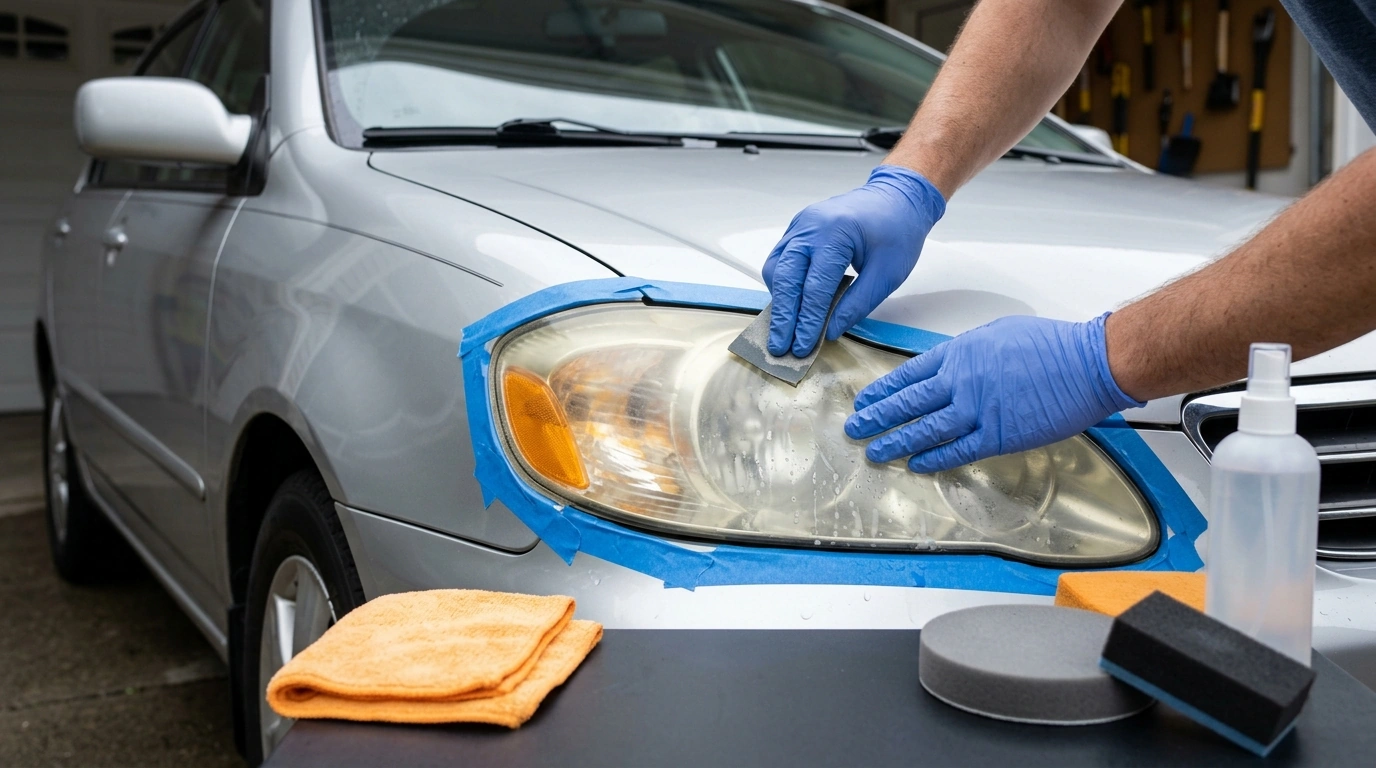
The best at-home hack for foggy headlights is a simple wet-sand-and-seal refresh. It works because most “fog” is actually oxidized plastic on the outside of the lens, and sanding removes that damaged layer so the light can shine through again. The key is finishing with a UV sealant; otherwise the haze often comes back quickly.
Wash the headlight and surrounding area, then dry. Mask the paint and trim around the lens with painter’s tape so sanding doesn’t scuff your clear coat.
Spray the lens with water and wet sand lightly, keeping the surface wet. Start with 800–1000 grit if the lens is very cloudy (or 1500 grit if it’s only mildly hazy), then move up to 2000 and finish at 3000. Sand in alternating directions between grits so it’s easy to see when the previous scratches are gone.
Use a plastic polish or rubbing compound on a microfiber cloth (or a foam pad on a drill) to bring back transparency. Wipe clean and inspect under good light.
Apply a headlight UV sealant or clear coat made for plastic lenses. This step is what keeps the headlights clear longer—without it, oxidation can return in weeks or months.
For a full checklist, grit guidance, and product options, follow the step-by-step guide here: DIY Headlight Rescue: Clean Cloudy Headlights Checklist.
For Clean Foggy Headlights at Home: Wet Sand & UV Seal, the best answer depends on fit, material, care instructions, and how the product will be used day to day.
Checking those details first helps avoid a poor match and keeps the choice practical after delivery.
With a proper UV sealant, results commonly last 6–24 months depending on sun exposure and washing habits. Without UV protection, haze can return much sooner.












Leave a comment